Send Canva Postcards to a Geographic Area with RealMailers
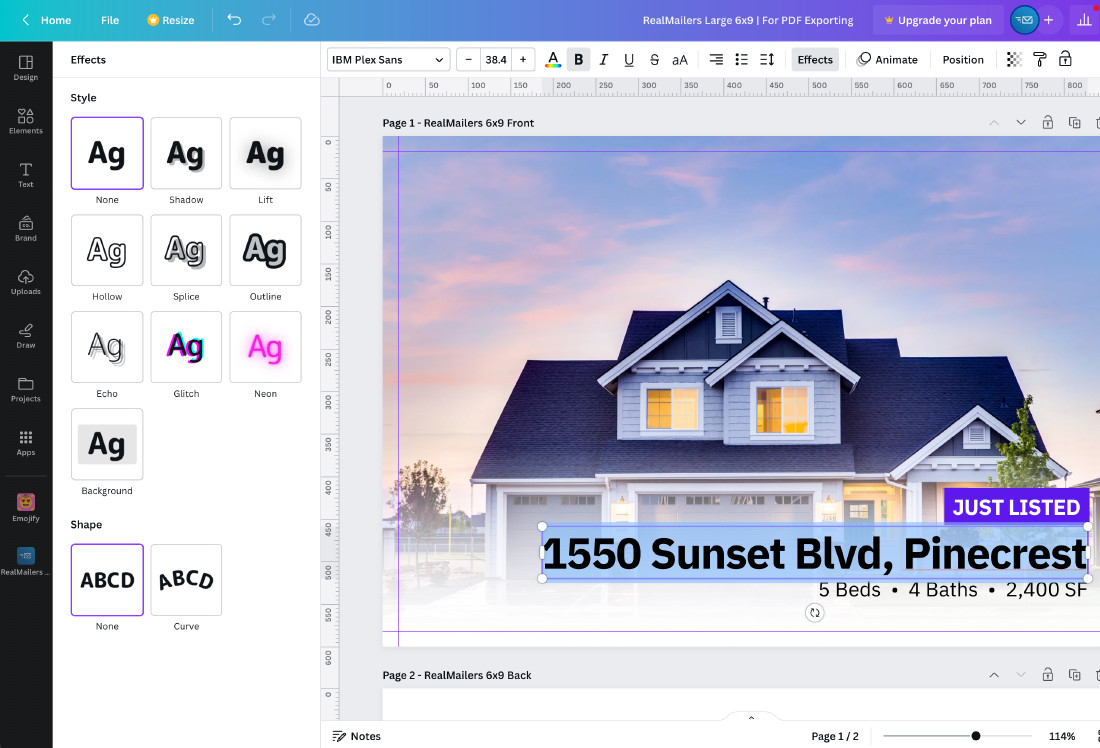
Canva makes it easy to create professional postcard designs. While Canva does offer a print option and ships postcards to your door in a parcel, you would still be responsbile for acquiring addresses, labels, postage and handoff to the USPS.
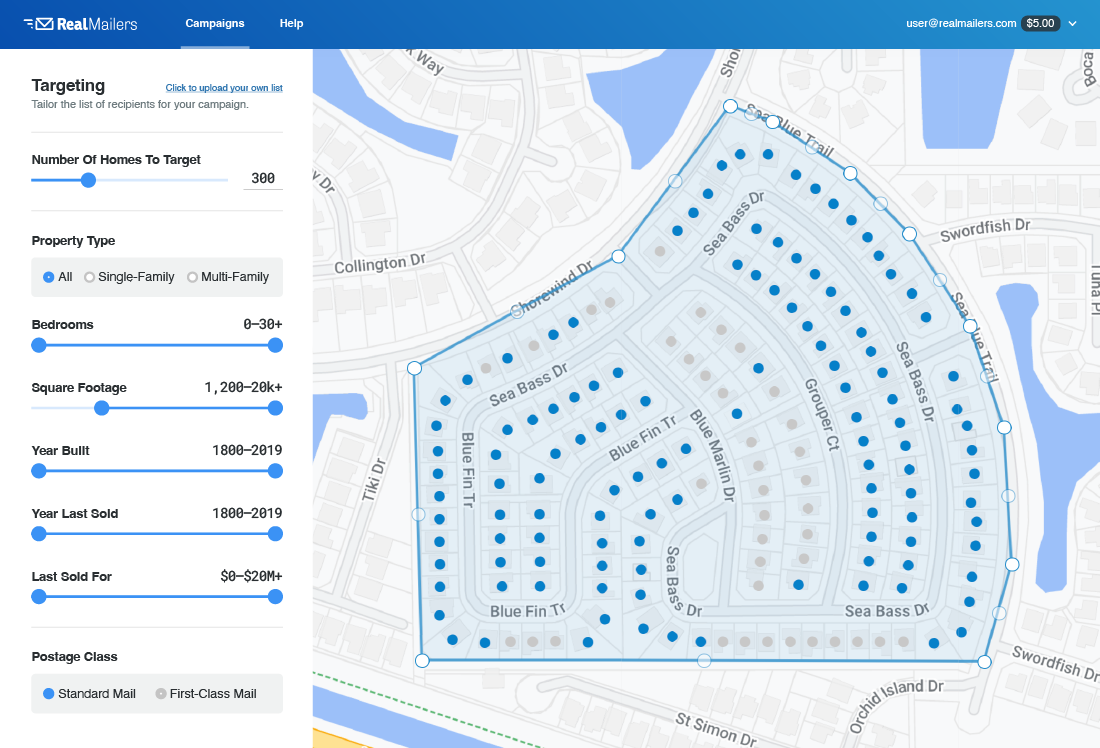
Fortunately, RealMailers can eliminate the need to:
- Wait for your prints to be delivered,
- Procure and pay for an address list,
- Buy address label stickers,
- Position addresses to print correctly on sticker sheets,
- Print and stick labels on each card,
- Buy stamps and stick them on each postcard,
- Drop the finalized mailpieces to a USPS mailbox.
Pairing Canva’s design tools with RealMailers geo-targeting and fulfillment puts a powerful suite of tools at your fingertips.
Not only will it reduce the time spent on each campaign from multiple hours (if not days) to minutes, it will also save you money!

Canva Document Setup and Export Settings
Follow the instructions below for optimal print results when exporting your artwork files from Canva.
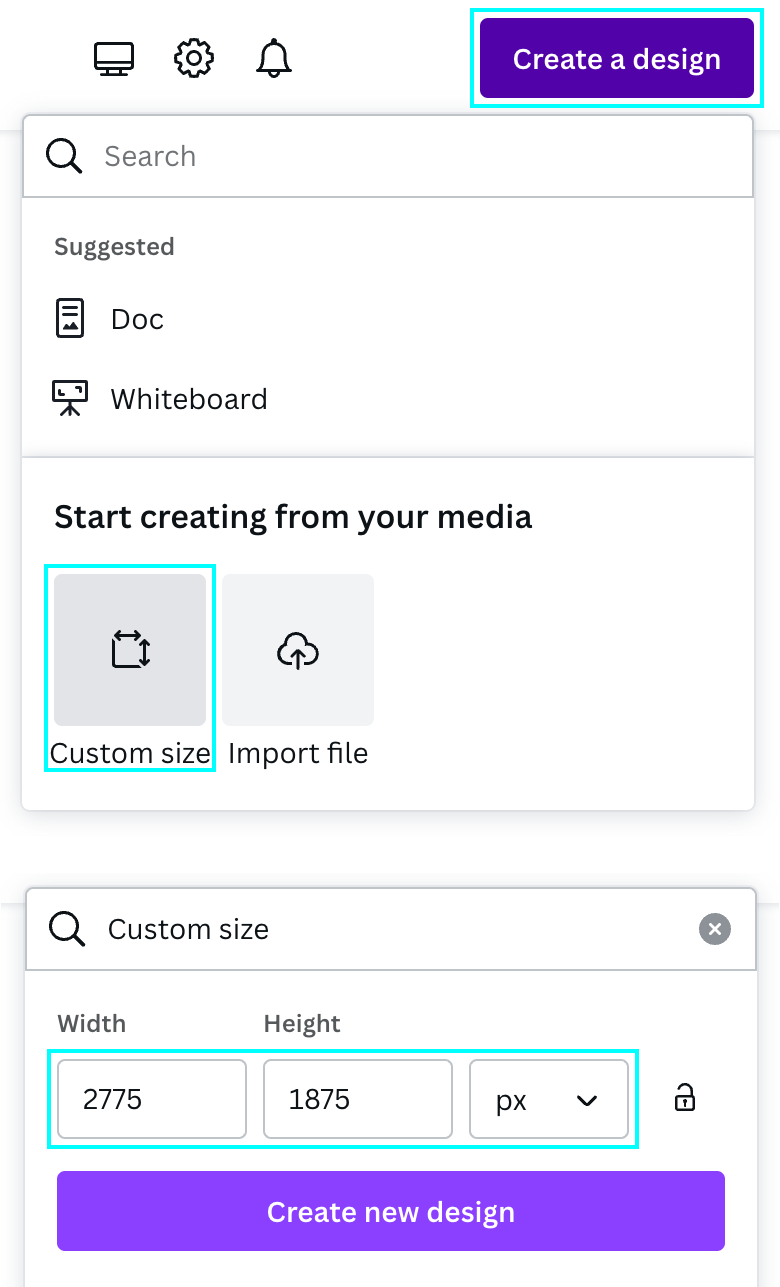
1. Click “Create a Design” and choose “Custom size”.
Depending on which final postcard size you’re going with, use the following canvas dimensions:
| Poscard Size | Artwork (Inch) | Canva (Pixel) | ||
|---|---|---|---|---|
| (H x W) | Width | Height | Width | Height |
| 4x6 | 6.25 | 4.25 | 1,875 | 1,275 |
| 6x9 | 9.25 | 6.25 | 2,775 | 1,875 |
| 6x11 | 11.25 | 6.25 | 3,375 | 1,875 |
Please note that in this approach we are including the bleed area in our artwork size for added clarity and to minimize unexpected results at export.

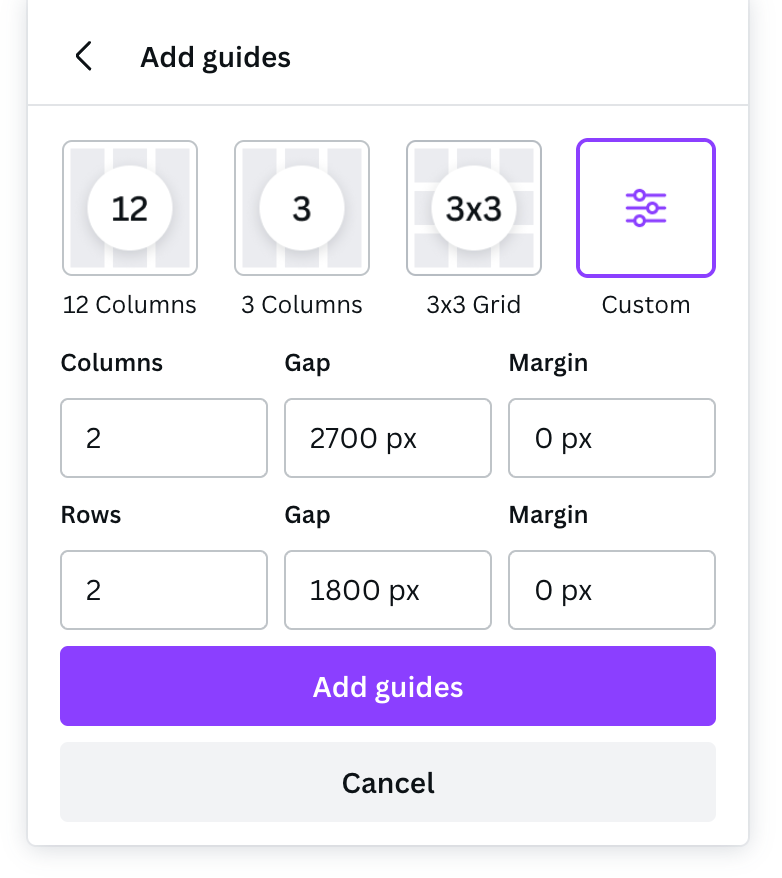
2. To ensure your critical content does not extend into the bleed area (which is trimmed off during the production process) we recommend adding guides to the document. For this, go to:
File > View Settings > Add guides > Custom
Enter “2” for both “Columns” and “Rows” and “0” for both Margin values. Enter the following gap values, depending on your postcard size:
| Poscard Size | Column Gap | Row Gap |
|---|---|---|
| 4x6 | 1,800 | 1,200 |
| 6x9 | 2,700 | 1,800 |
| 6x11 | 3,300 | 1,800 |
Click “Add guides” to confirm.

3. You will also want to make note of the ink-free area on the back side of your postcard, reserved for addresses and postage indicia. We recommend creating a simple rectangle for a visual reminder on the back design of your postcard.
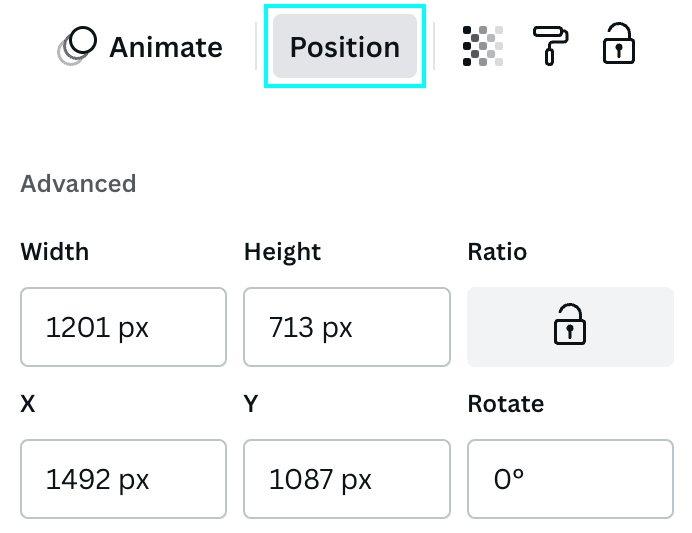
From the left sidebar choose “Elements” and click on the square shape. Then select the shape in your preview and click “Position” to adjust the size and location of the rectangle. Enter the following values for Width, Height, X, and Y under “Advanced”, depending on your postcard size:
| Poscard Size | Width | Height | X | Y |
|---|---|---|---|---|
| 4x6 | 986 | 713 | 807 | 487 |
| 6x9 | 1,201 | 713 | 1,492 | 1,087 |
| 6x11 | 1,201 | 713 | 2,092 | 1,087 |

4. Once you are ready to export your designs for RealMailers, please use the following export settings. Go to:
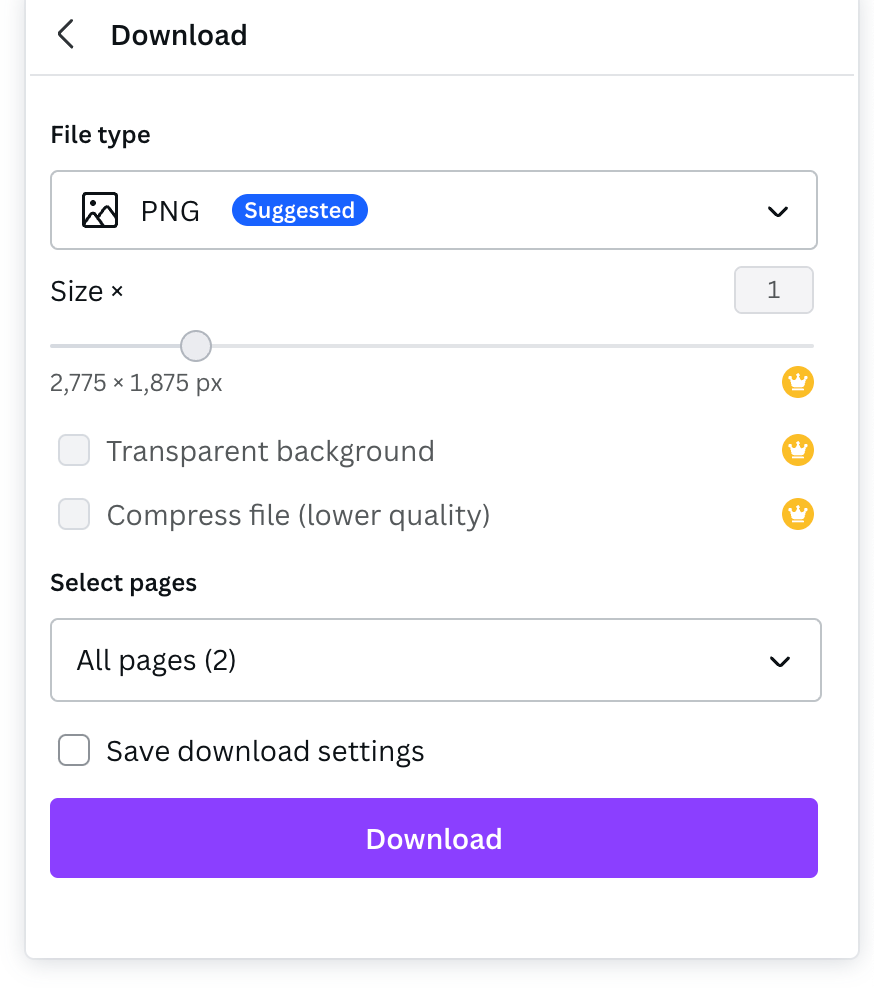
Share > Download
Leave the file type as “PNG” and click “Download”.
Now you have a zip file containing 2 separate PNG files (front and back) ready to be uploaded to RealMailers to target and send your campaign.
PRO TIP: Make sure you check the Print Proof in the Preview & Checkout step in RealMailers to review the final trim and address box.
Use these free 6x9 templates below to get started!
